
The Journal
Cold Weather Layering for Winter Walks
Learn cold weather layering for winter walks: what each base, middle and outer layer does, how to adjust as you warm up and what to pack.
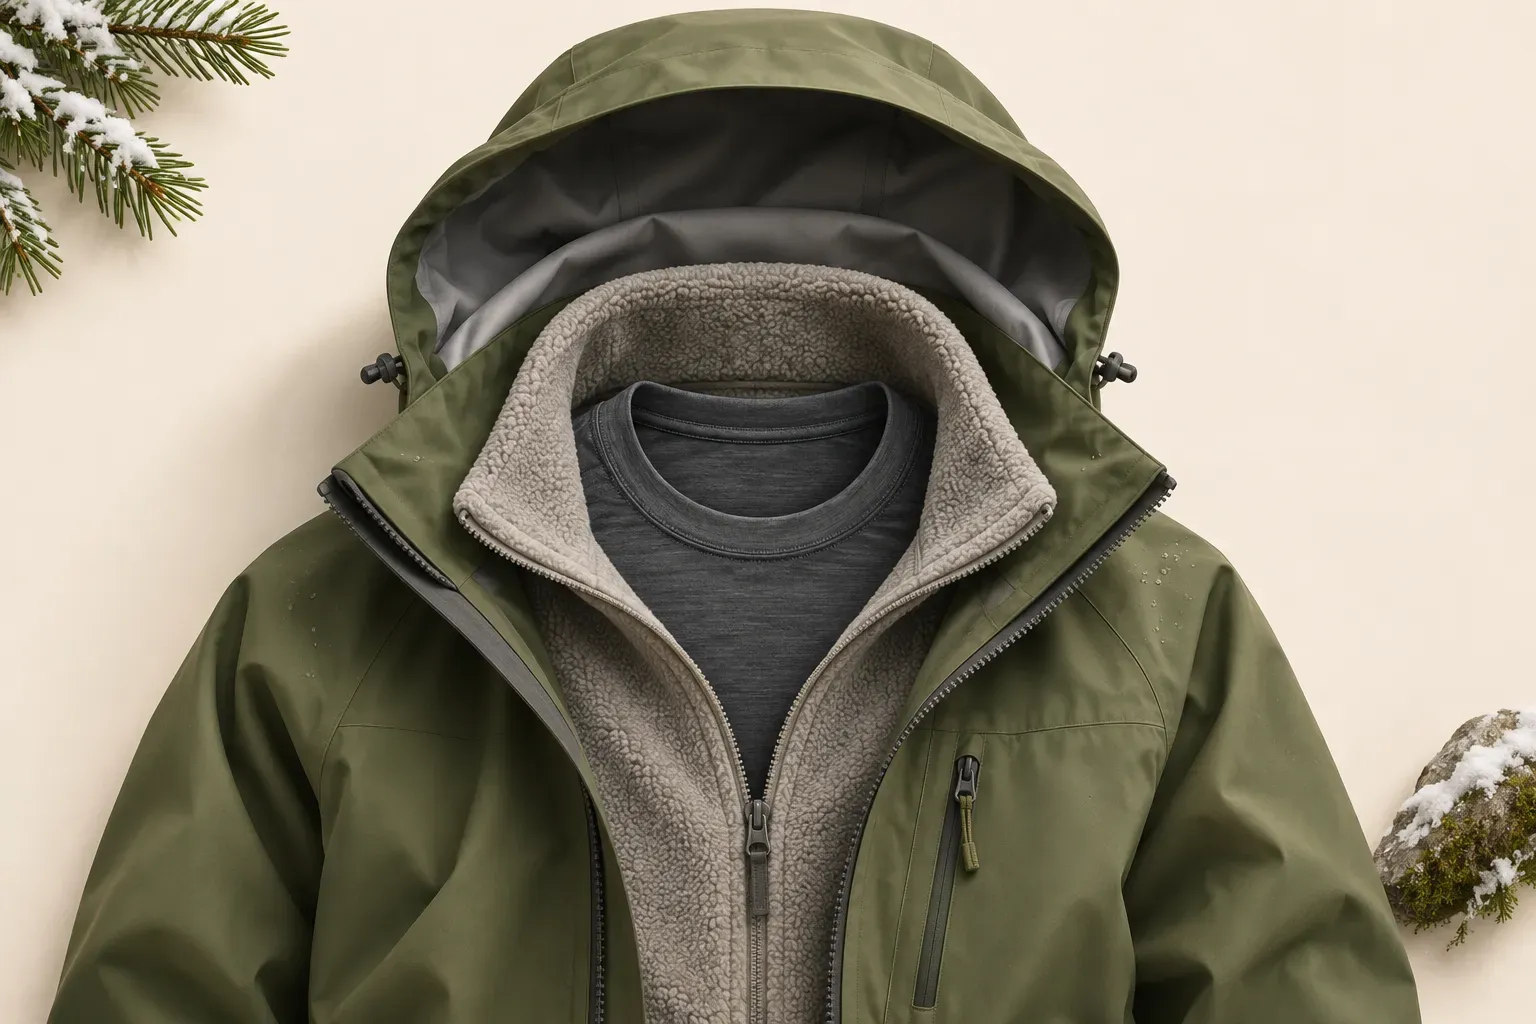
A warm coat can feel great when first putting it on but be way too warm halfway up the hill. At the same time, the same coat can feel too thin when stopped for a few minutes to rest. This is why cold weather layering works – we wear layers so we can make small adjustments to our clothing as our bodies and weather change.
How Cold Weather Layering Works
The base layer manages moisture against the skin. The middle layer traps air to help keep you warm. The outer layer protects you from wind and weather. You can wear more than one middle layer, or you can take off one of the layers and put it in your backpack until you stop for a while. It is more important to have the layers arranged correctly than to have a complete matching set of clothing. A jacket with room for the layers underneath is preferred over having to stuff more layers into a single shell. For short, local walks, use what you already have and check the forecast for the day as well as the route before you head out.
Choosing a Base Layer
The base layer should move moisture away from the body, be comfortable against the skin and fit under the rest of your clothing. Wool and synthetic fabrics are best for the base layer, but a very heavy base layer can be too warm on a brisk hike. Think about your pace and the weather for the day. National Park Service states that cotton absorbs water and stays wet for a long time. It is best to use a material that can manage moisture and dry quickly on a cold, damp outing.
Choosing an Insulating Layer
The insulating layer can be a fleece, a sweater or a jacket made to keep you warm. A thin layer is better for most walks as you can add more as you get colder. A thicker layer is better for long stops but needs to fit under your outer layer. Try on all of your intended layers at home. Can you reach forward and bend your arms? If the sleeves are too tight or the shell won’t close, you will find out before you start on your walk.
Choosing an Outer Layer
The outside layer of clothing protects the rest of your layers from wind and precipitation. A rain shell is typically used for this layer on many different types of walks. For dry, sheltered walks other wind resistant layers may be more comfortable. Check the hood, cuffs and hem of the jacket for gaps. Make sure the hood allows you to turn your head and look down the path. Vents and zippers can allow you to release heat without having to unpack.
Adjusting Layers on the Walk
Adjust your layers before you are sweating profusely or frozen to the bone. As you warm up on the climb up the hill, open the zipper on your shell or take off a layer of clothing. Add more warmth as you slow down on the way down, as the wind starts to blow more or when you stop for a long rest. It is also good to keep a warm layer of clothing dry in a bag in your backpack for when you stop for rest and for when you return home. A spare pair of dry gloves is also good to have.
Hands, Head and Feet
Pay attention to your hands, head and feet. Gloves can allow for more movement of your fingers than mittens, but mittens can keep your hands warmer. Wear a hat, and carry a dry pair of gloves with you in case your hands get wet and you are far from shelter. Socks should fit your feet well and not bunch up in your shoes. Thick socks can cause your feet to be too tightly packed into your shoes, so try to choose socks that have room for your toes. Shoes need to be suitable for the surface you are walking on as well as the weather. For snow and ice, the National Park Service recommends using traction devices on your shoes.
Rain, Snow and Ice
A waterproof shell can keep rain and wet snow from getting to your insulating layers. Look for a shell with a hood and cuffs that can be closed up to keep out the cold. A jacket can get damp on the inside from sweat, so look for a shell with vents or a zipper that can be used to release heat when needed. Carry extra dry clothing for longer or more exposed outings.
Snow or ice on the ground require more than just the right clothing. Find out whether you need to use traction devices on your shoes for the route you are planning and how to use them. Poles may be useful for some people but do not make icy surfaces safe to walk on. A short walk on a route close to home may have slippery sections or exposed areas. Turn back if the footing or weather is not suitable for your equipment and experience.
What Else to Pack
Take along plenty of water, some light and some food to eat along the way. Leave a copy of your route plan with someone you can contact in case of an emergency. National Park Service recommends bringing along an extra set of dry clothing for winter hiking. A longer or more remote walk will require a more complete emergency plan than a short neighborhood walk. Leave room in your plan for a warm indoor alternative.
The best clothing for a cold weather walk will not guarantee that the weather will be perfect for a walk. If you are going for a long walk in very cold weather, you may want to choose a shorter route, go to a sheltered area or even go for an indoor walk instead.
References
- National Park Service, Dressing for Winter.
- National Park Service, Winter Hiking Tips.
- National Park Service, Winter Safety at Yosemite.



Comments